
What is a Creative Commons License and why should I have one? A Creative Commons License allows you, as an author and creator of your work - your intellectual property, to mark your creative work according to your desired configuration as "Some Rights Reserve" instead of "All Rights Reserve."
Why? Part of the thinking behind this type of partial copyright is that it allows others to use your work based on your requirements. For Destination: Austin Family, my license allows others to copy and modify my work but only as long as they too protect their work under a similar Creative Commons license. In addition my license does not allow commercial/for profit use of my work.
I have such a license in place since I fully believe that in order to foster more and better information in the Web 2.0 environment, there needs to be a somewhat unhindered exchange of such information without getting into copyright battles.
Here are the steps needed to secure your free Creative Commons License, customize it to your wishes, and display the badge on your blog:
1. Go to the general Creative Commons site at http://creativecommons.org/.

2. Click License Your Work in the upper left hand corner. You should be here: http://creativecommons.org/license/.

3. Select the settings for your license. I recommend:
- Allow commercial uses of your work? No.
- Allow modifications of your work? Yes, as long as others share alike.
- Select your jurisdiction.

4. Complete the additional information form. Click Select License.
5. Now select an icon for the license. I usually select the first one.
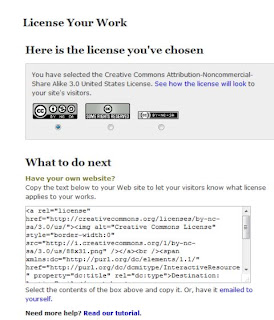
6. The code for the license and info appears. You need to post this to some gadget in your blog to appear on your sidebar. The following steps are for those using Blogger:
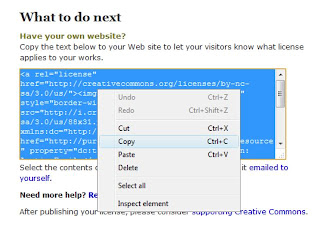
a. Select all the text in the code box. Highlight it or place cursor in the box and press CTRL + A (for Select All). Then right-click and select Copy. You have now copied to code to the Clipboard.
b. Go to the Dashboard on Blogger. Select Layout.
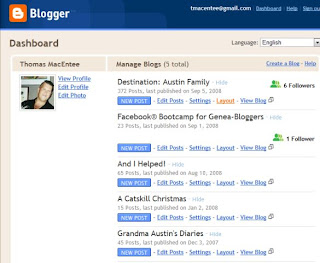
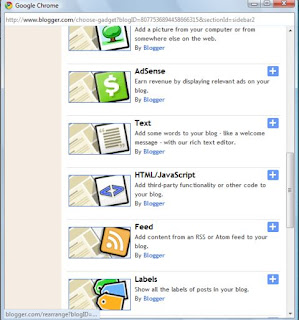
c. Select Add Gadget. (Note: the layout in the image below may differ depending upon the template you are using in Blogger).
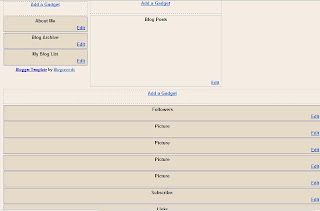
d. In the Add Gadget dialog, select HTML/JavaScript. Press the plus sign.
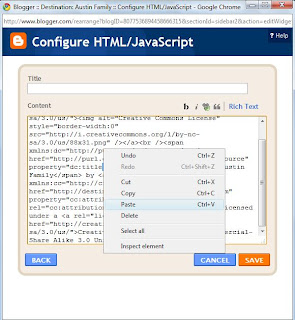
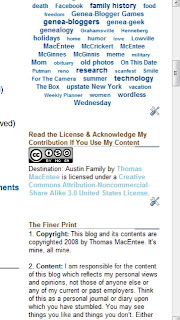
e. In the Configure HTML/JavaScript dialog, right-click over the blank area and select Paste. This will copy the code from the Creative Commons site. You also might consider entering a headline in the Title box. The one I use is: Read the License & Acknowledge My Contribution If You Use My Content. Click Save.
f. Click View Blog to view the new license info.
5. Now select an icon for the license. I usually select the first one.

6. The code for the license and info appears. You need to post this to some gadget in your blog to appear on your sidebar. The following steps are for those using Blogger:
a. Select all the text in the code box. Highlight it or place cursor in the box and press CTRL + A (for Select All). Then right-click and select Copy. You have now copied to code to the Clipboard.

b. Go to the Dashboard on Blogger. Select Layout.

c. Select Add Gadget. (Note: the layout in the image below may differ depending upon the template you are using in Blogger).

d. In the Add Gadget dialog, select HTML/JavaScript. Press the plus sign.

e. In the Configure HTML/JavaScript dialog, right-click over the blank area and select Paste. This will copy the code from the Creative Commons site. You also might consider entering a headline in the Title box. The one I use is: Read the License & Acknowledge My Contribution If You Use My Content. Click Save.

f. Click View Blog to view the new license info.

2 comments:
Thank you Thomas, you give such good directions!
Sheri Fenley
Thank you, Thomas! I wondered how to go about it. Now I have taken care of it.
Post a Comment